How to install Plesk on Windows Server 2019
In this article, we will explain how you can install Plesk on Windows Server 2019. We’re downloading Plesk 18.0.29.
For Plesk installation, a fresh Windows Server machine is required meeting the Plesk Software Requirements and with Internet access. You can create it on your own or purchase it from any Hosting Provider.
Table of Contents
Prerequisites
- VPS or Dedicated Server with Windows Server 2019 installed.
- You must be logged in via Remote Desktop Protocol as an administrative user.
Step 1: Log in with RDP into Windows Server 2019
Connect to your server with the login credentials which you can find in your client area.
Step 2: Downloading Plesk Installer
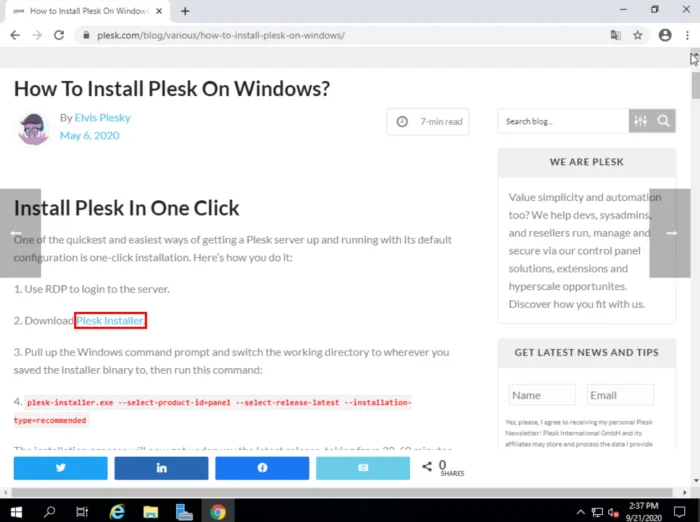
Go to https://www.plesk.com/blog/various/how-to-install-plesk-on-windows/ and click on Plesk Installer.
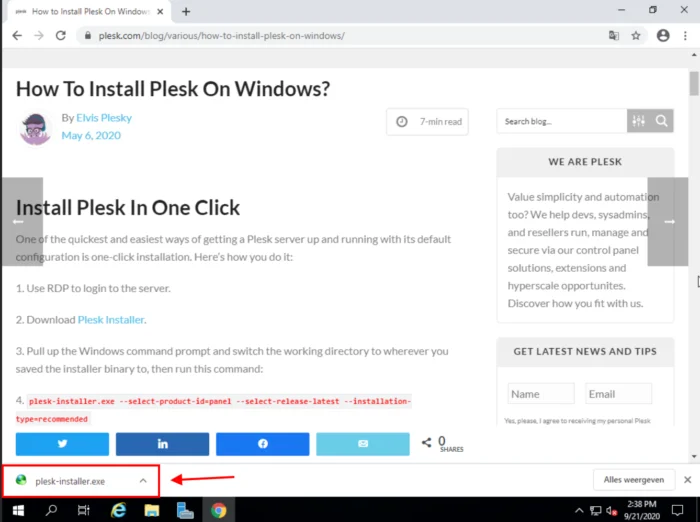
When the download is done, click on it.
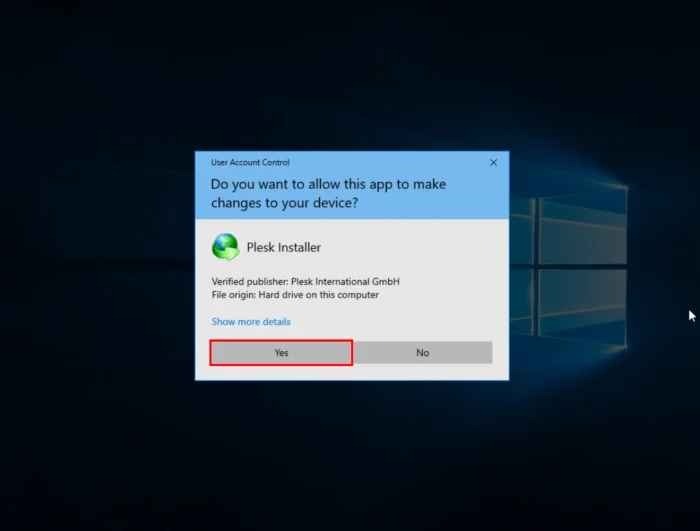
This window will pop-up. Click on Yes to give the app permission to make changes on your device.
Step 3: Plesk Installer Login
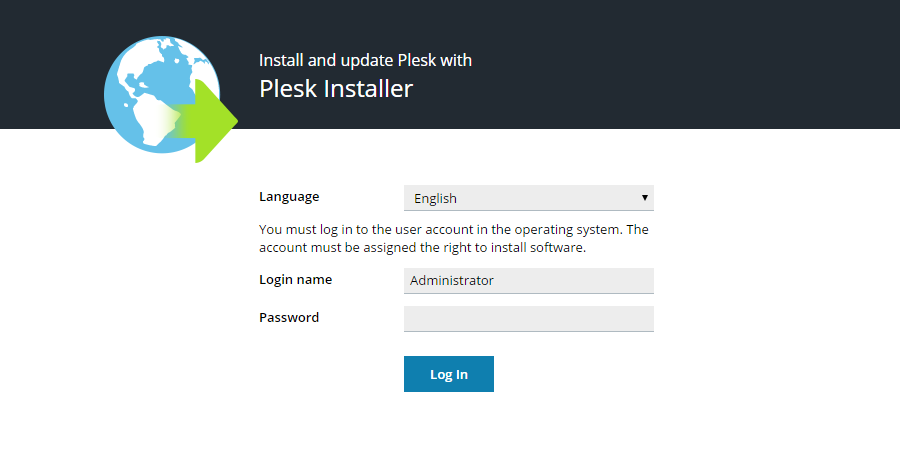
You will see this screen. Insert your password and click Log In.
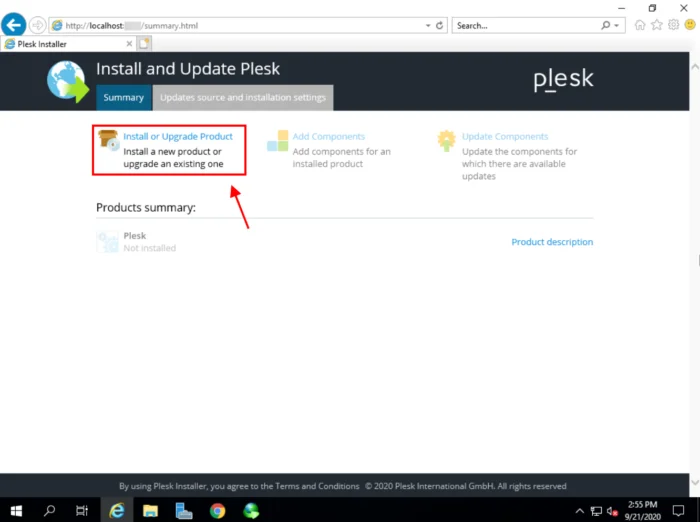
Click at the top left on Install or Update Product.
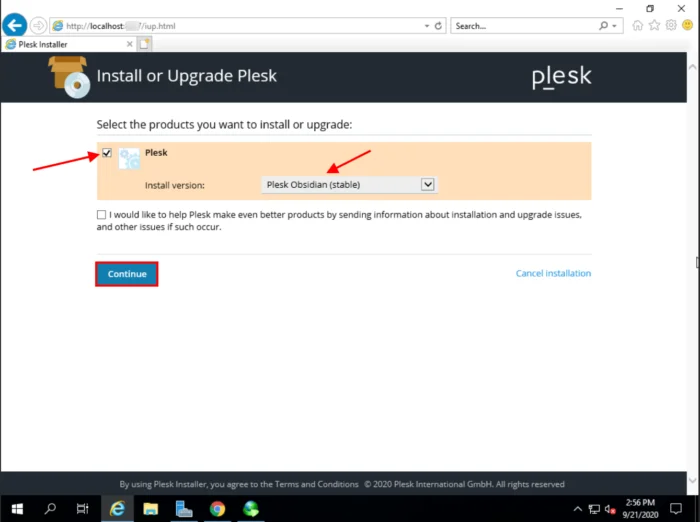
Select Plesk and click on Continue.
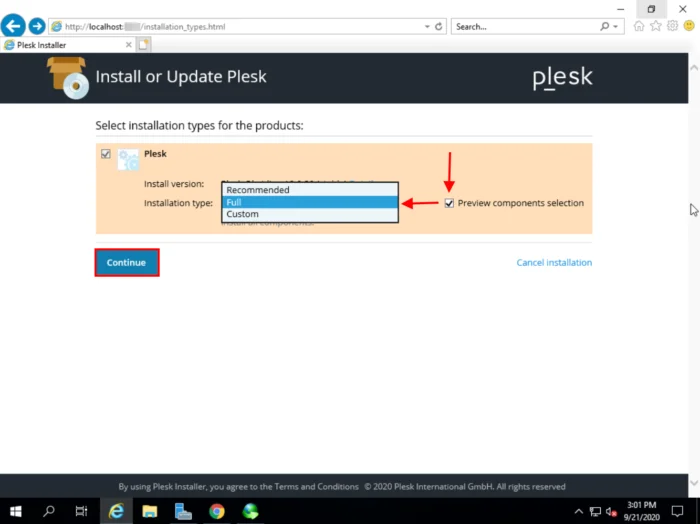
Then choose at Installation Type whether you want the Recommended version, the Full version or if you want to make a Custom version. If you have made a choice, click on Continue.
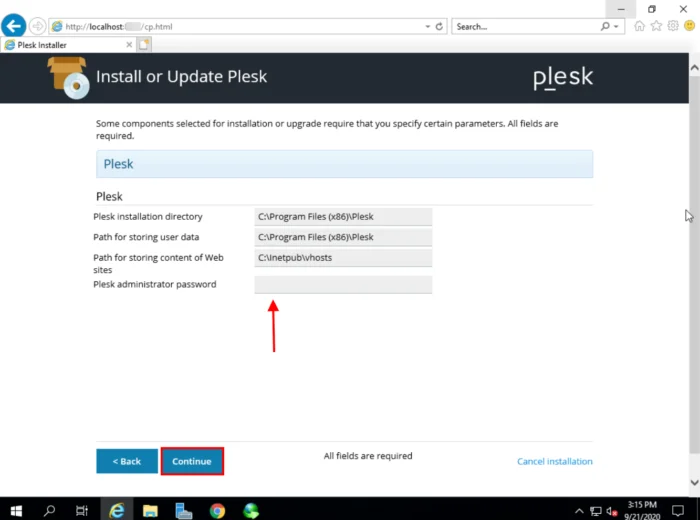
In the next window, choose your administrator password. Make sure to remember it. After you’ve chosen a password, click on Continue.
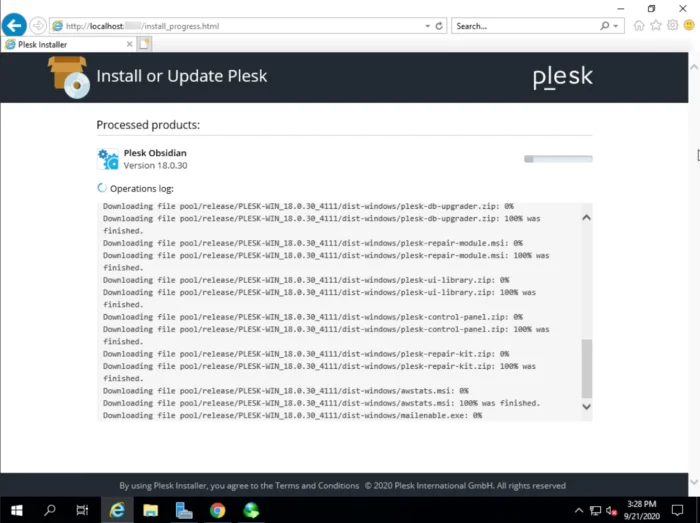
The installation will now begin. This may take a while.
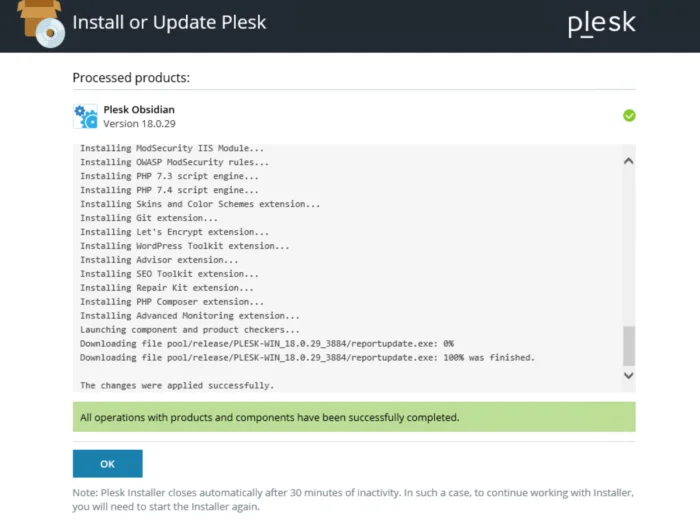
After the installation is finished, click on Ok.
Conclusion
Congratulations, you have installed Plesk on your Windows Server.
