How to Run Speed Test in The VPS (Terminal)
Virtual Private Servers (VPS) have gained immense popularity as a hosting solution for websites, applications, and various online services. Unlike shared hosting, a VPS offers dedicated resources and greater control over your hosting environment.
However, ensuring optimal speed and performance for your VPS is crucial in this fast-paced digital landscape. This is where conducting speed tests on your VPS becomes essential. Speed tests enable you to measure important factors such as upload and download speeds, latency, and other performance indicators associated with your VPS connection.
Table of Contents
How Speed Tests Work
To understand the process of conducting speed tests in a VPS (Virtual Private Server), it is important to grasp the general principles behind how speed tests work. These tests evaluate the rate of data transfer between your device and a server by uploading and downloading a predetermined amount of data and measuring the time it takes to complete these actions.
Speed tests generate several performance metrics, including:
1. Download Speed
- This measures how fast data is transferred from the server to your device.
- During the test, the speed test service sends data from a nearby server to your device and measures how quickly your device can receive and process the data.
- The download speed is often the most important for activities like streaming, browsing, and downloading files.
2. Upload Speed
- This measures how fast data is sent from your device to the internet (e.g., when uploading files or video calling).
- The test sends data from your device to the server, and the time it takes for the data to reach the server is measured.
3. Ping (Latency)
- Ping measures the time it takes for a small packet of data to travel from your device to a server and back.
- This is expressed in milliseconds (ms), and lower values are better. A higher ping can result in noticeable delays in online gaming or video conferencing.
- Latency is particularly important for real-time applications like gaming, VoIP, or video calls.
How Speed Tests Are Conducted
- Server Selection:
- Speed tests typically select a server that’s geographically close to you to minimize latency. Some tests let you manually choose a server.
- Data Transfer:
- The test involves downloading and uploading data to assess speeds. The test may use multiple “chunks” of data sent and received to ensure a reliable measurement, sometimes repeating the test a few times for accuracy.
- Test Duration:
- The test takes a few seconds to a minute, depending on how much data is transferred and processed.
- Results Calculation:
- The results are based on the time it takes to download or upload a certain amount of data. These times are then converted into a speed measurement, typically in megabits per second (Mbps) or gigabits per second (Gbps).
Factors That Affect Speed Test Results
- Network Congestion: If many people are using the same network or server, speeds can be slower.
- Connection Type: Wired connections (Ethernet) are typically faster and more stable than wireless (Wi-Fi) connections.
- Distance from Server: The farther the test server is from your location, the higher the latency and possibly lower speeds.
- Device Limitations: The capabilities of the device (e.g., modem, router, computer) and how it handles data can impact results.
- ISP Throttling: Some internet service providers (ISPs) may intentionally limit speeds for specific activities (like streaming or gaming) or during peak usage times.
Common Speed Test Tools
- Ookla’s Speedtest: One of the most popular speed test tools, often used for general speed testing.
- Fast.com: Powered by Netflix, this tool is known for measuring download speed primarily.
- Google’s Speed Test: A built-in speed test provided through Google’s search engine.
Running Speed Tests in VPS: Step-by-Step Guide
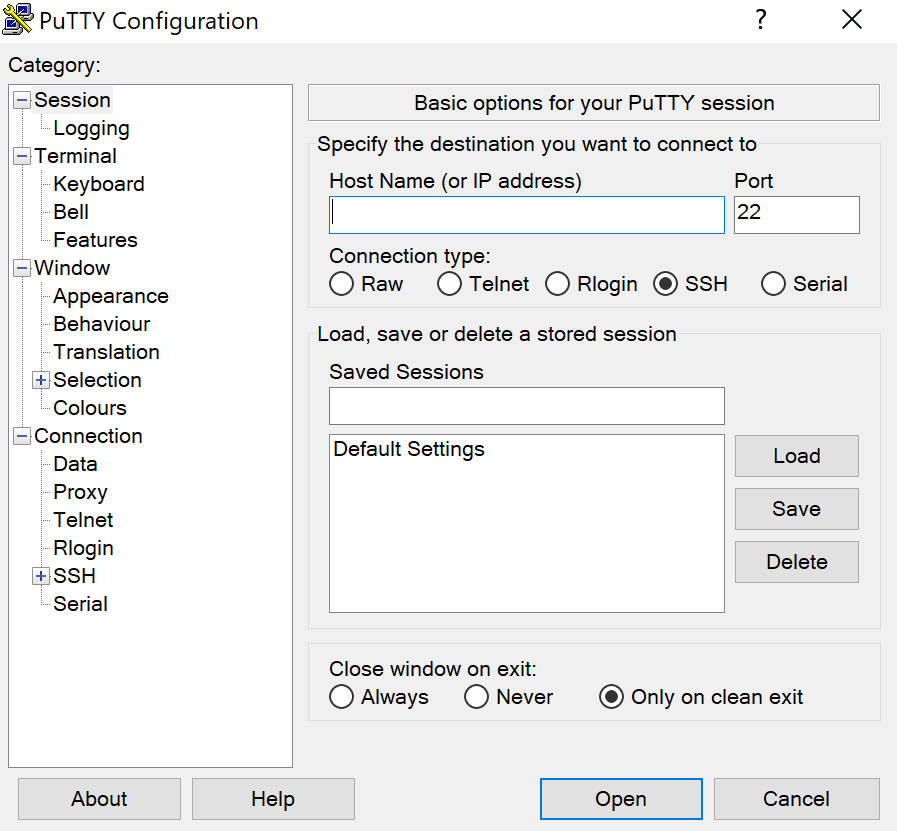
Step 1: Accessing the VPS terminal
To begin running speed tests in your VPS, you’ll need to access the VPS terminal. Follow these steps:
- Open a terminal application on your local machine.
- Use SSH (Secure Shell) to connect to your VPS. The command usually follows this format: ssh username@your_vps_ip_address.

- Enter your VPS password when prompted.
Step 2: Installing speed testing tools (e.g., speedtest-net)
Next, you’ll need to install speed testing tools in your VPS. One popular tool is speedtest.net. Here’s how to install it:
- Update the package list on your VPS by running the command sudo apt update.
- npm install –save speedtest-net
- npm install –global speedtest-net $ speedtest-net.
- speedtest-net
Step 3: Running The Speed Test Command
Once you have speedtest installed, you can run speed tests in your VPS. Follow these steps:
- In the VPS terminal, type speedtest and press Enter.

- The speedtest tool will connect to the nearest speed test server and initiate the test. Wait for the test to complete.
Step 4: Interpreting The Results
After the speed test completes, you’ll see the results displayed in the terminal. The results typically include metrics such as download speed, upload speed, ping (latency), and server location. Here’s how to interpret the results:
- Download speed: Represents the rate at which data is transferred from the server to your VPS, measured in megabits per second (Mbps).
- Upload speed: Indicates the rate at which data is transferred from your VPS to the server, also measured in Mbps.
- Ping (latency): Refers to the time it takes for a data packet to travel between your VPS and the test server, measured in milliseconds (ms).
- Server location: Indicates the location of the speed test server.
Conclusion
Regularly monitoring and optimizing the speed and performance of your VPS is crucial for maintaining a smooth VPSJUNGLE user experience. And ensuring the efficiency of your online services. By utilizing speed tests and making informed decisions based on the results. You can improve the overall performance of your VPS and deliver an optimal experience to your users.
